Deleting your duplicate photos
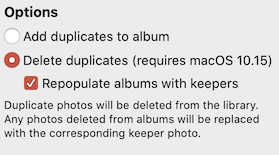
Once you’ve finished choosing which photos to keep and which to trash, click the “Trash Duplicates” button in the upper right corner to get rid of your duplicate photos. You can specify how to deal with your duplicate photos in the “Options” section at the bottom of the window.

Delete duplicate photos (requires macOS 10.15)
PowerPhotos can directly delete the duplicate photos from your library for you, so there are no additional steps you need to take. You will see an additional confirmation warning displayed by macOS before the deletion is finalized.
Keep albums intact
When deleting photos from your library, it’s possible that some of those photos currently belong to one or more albums in that library. Deleting the photos will also remove those photos from their albums, but with this option enabled, PowerPhotos will replace each deleted photo with the corresponding keeper photo from the same duplicate group. The end result is that all your albums will remain intact with the same number of photos even after doing your duplicate deletion.
Note that this option only applies when the trashed photo and the keeper belong to the same library. If your duplicate search spans multiple libraries (let’s call them “Library A” and “Library B”), then if the photo being trashed is in library A, and the keeper is in library B, then any albums in library A that contained the trashed photo will not have the photo be replaced.
Add duplicates to album
On earlier versions of macOS, Photos does not provide a mechanism for PowerPhotos to directly delete the duplicate photos that it has found, so the final step of deletion must be performed manually. You can also choose to use this option on macOS 10.15 if you’d rather not delete your photos right away.
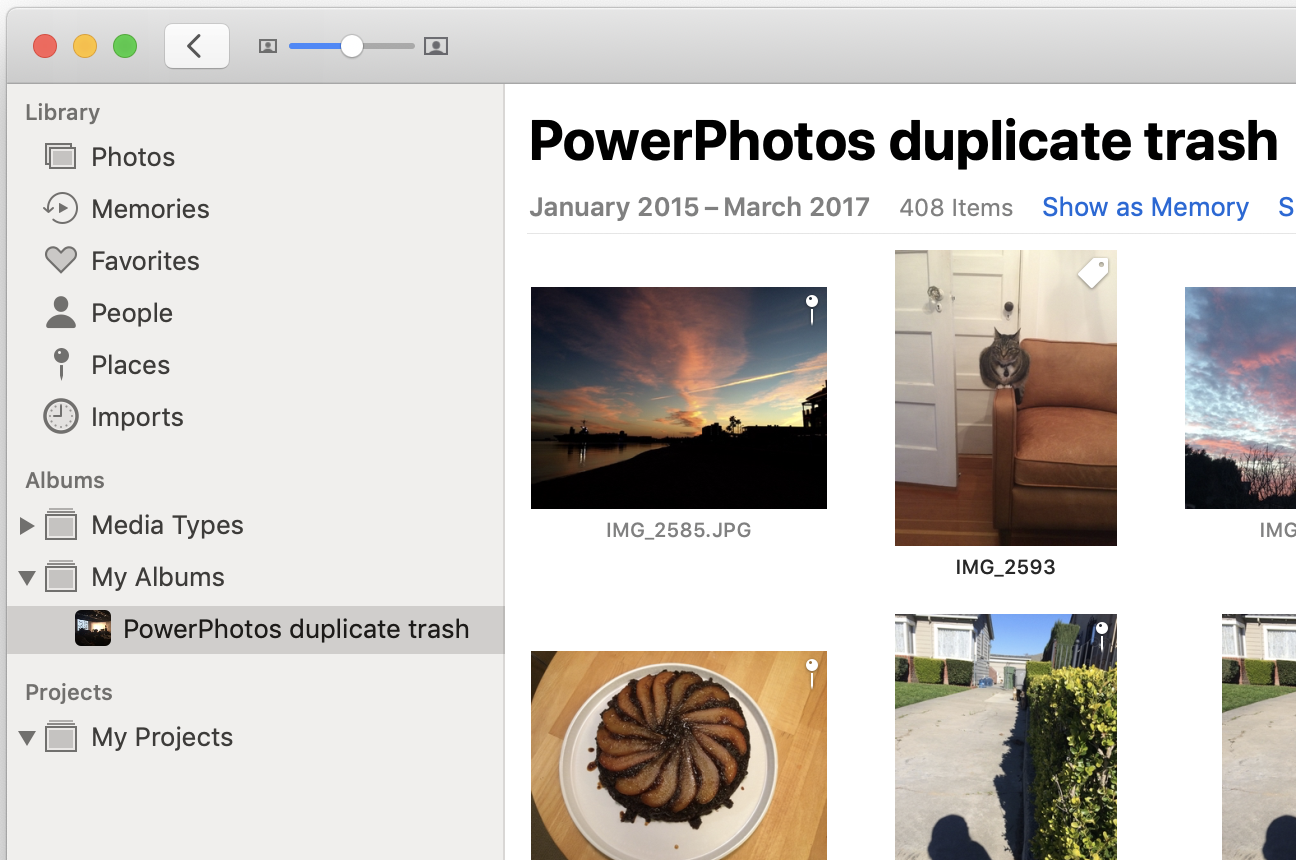
PowerPhotos will create an album named “PowerPhotos duplicate trash” in your Photos library and populate it with all the photos that have been marked to be trashed. PowerPhotos will then walk you through the steps needed to delete the photos from the library. Note that all these steps are done in the Photos app, and not from within PowerPhotos.
1.Select Trash Album Bring Photos to the front and select the “PowerPhotos duplicate trash” album in your album list. PowerPhotos can perform this step for you by clicking the “Select the album for me button”.
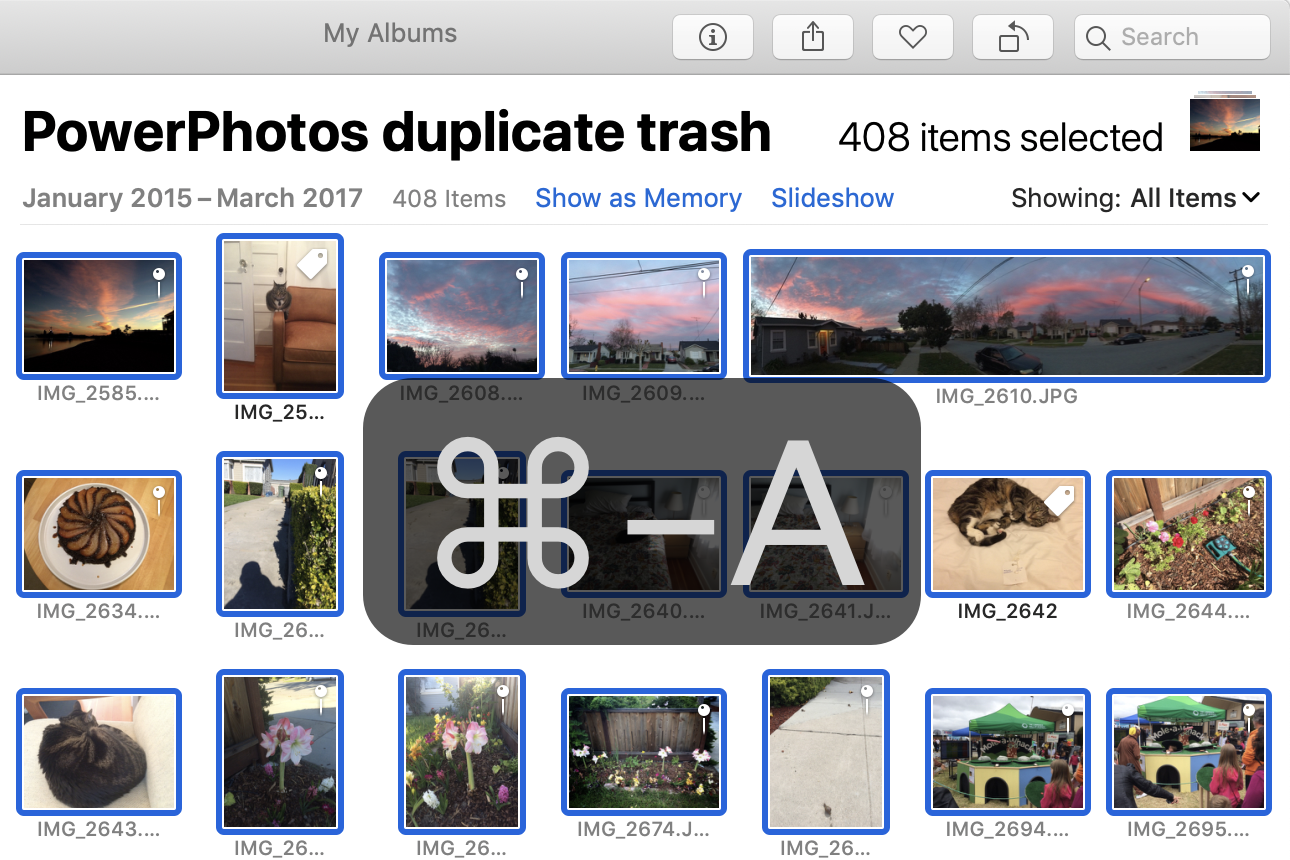
2.Select All Photos Select all the photos in the “PowerPhotos duplicate trash” album, either by pressing command-a or choosing “Select All” from the Edit menu.
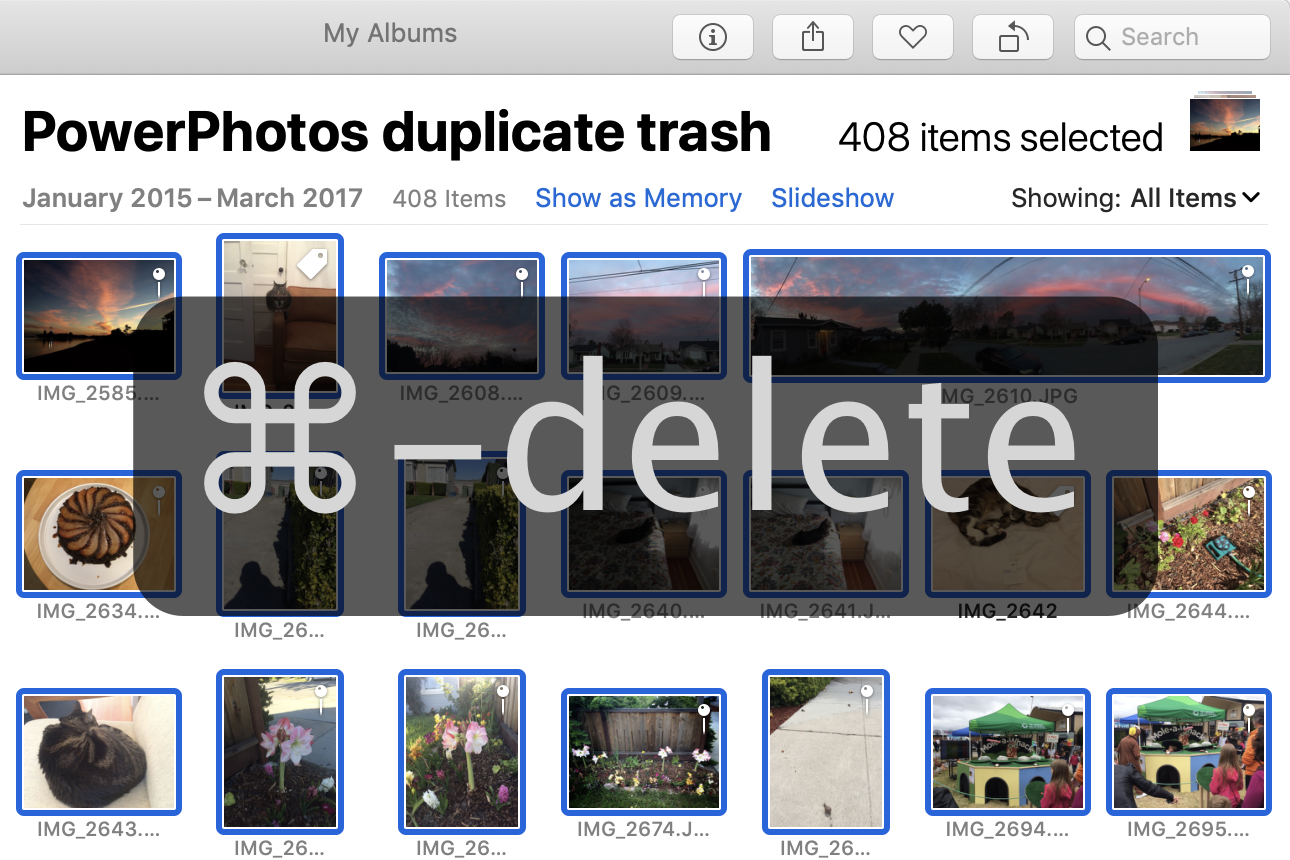
3.Delete Photos Press command-delete to move all the photos into the “Recently Deleted” album, removing them from the library. Note that just pressing the delete key alone will only remove the photos from the album, and not delete the from the library.
After deletion Once the photos have been deleted, they will remain in the “Recently Deleted” album until Photos permanently deletes them in 40 days. This gives you a chance to “undelete” them for a while in case you change your mind. You can do that by selecting the “Recently Deleted” album, selecting the photos you want to undelete, and clicking the “Recover” button. If you want to delete the photos right away to free up disk space, you can instead click the “Delete All” button, which will delete them immediately and permanently.


